Interior Door Trim: Complete Guide to Installing, and Maintaining Interior Door Casing for Every Home
Interior door trim is an essential finishing element that enhances the appearance of a home while covering the gap between the door frame and the wall. Choosing the right style, material, and installation method improves both aesthetics and durability, making it an important consideration for new construction and renovation projects.
Choose the Right Interior Door Trim Style
Selecting the appropriate trim style establishes the visual identity of your interior. The design should complement the home’s architecture while maintaining consistency throughout adjoining rooms.
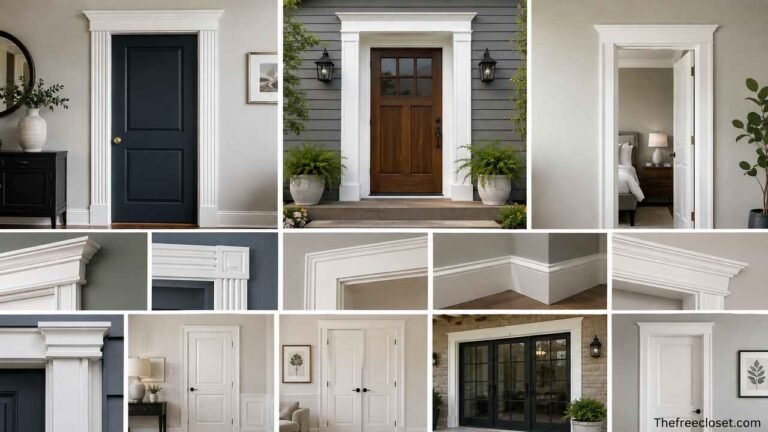
Modern homes often feature flat stock trim with clean lines and minimal ornamentation. This style emphasizes simplicity and creates an uncluttered appearance. Traditional homes commonly use colonial casing with decorative curves and layered profiles that add depth and elegance. Craftsman-style homes favor wider boards with simple geometry and substantial head casings, while farmhouse interiors frequently combine thicker trim with natural wood finishes for warmth.
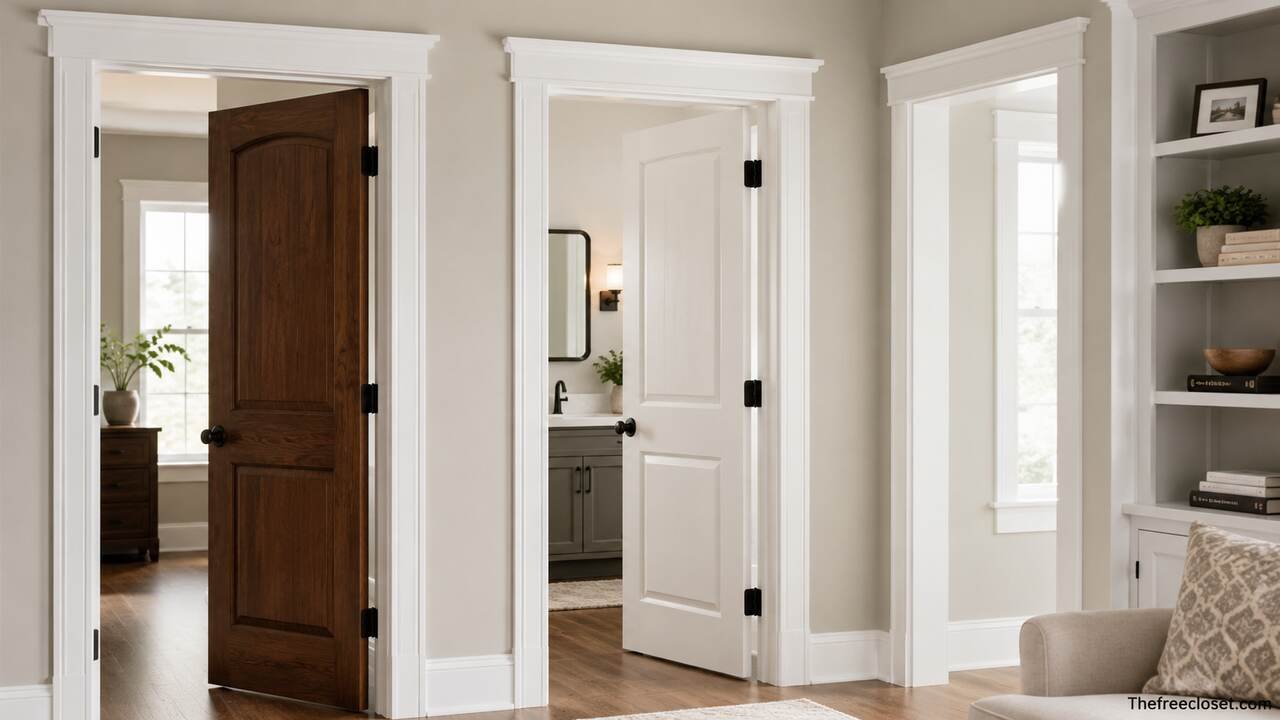
Maintaining consistency across doors, windows, and baseboards creates a cohesive appearance. Coordinating trim profiles with crown molding and baseboards helps unify the entire space rather than making each element appear disconnected.
| Trim Style | Best For | Appearance | Maintenance |
| Flat Stock | Modern homes | Clean and minimal | Easy |
| Colonial | Traditional homes | Decorative curves | Moderate |
| Craftsman | Craftsman homes | Wide, simple lines | Easy |
| Victorian | Historic homes | Highly detailed | Higher |
| Farmhouse | Rustic interiors | Thick, natural look | Moderate |
Select the Best Material for Interior Door Trim
The material influences durability, appearance, installation difficulty, and long-term maintenance.
Solid wood remains the premium choice because it offers natural grain patterns, durability, and the ability to be stained or painted. Oak, maple, pine, poplar, and cherry each provide unique characteristics. Hardwood options are ideal for luxury interiors, while pine offers a more economical solution.
Medium-density fiberboard (MDF) has become one of the most popular materials because it provides a perfectly smooth surface for painting. MDF resists warping better than some softwoods and is available in consistent dimensions, making installation easier.
PVC trim works well in bathrooms, laundry rooms, and other humid spaces because it resists moisture, mold, and insects. Composite materials combine wood fibers and synthetic resins to create durable products that require minimal maintenance.
| Material | Paintable | Stainable | Moisture Resistance | Cost |
| MDF | Excellent | No | Moderate | Low |
| Pine | Excellent | Yes | Moderate | Low |
| Poplar | Excellent | Limited | Moderate | Medium |
| Oak | Good | Excellent | Good | High |
| PVC | Excellent | No | Excellent | Medium |
Measure Interior Door Trim Correctly
Accurate measurements reduce waste and simplify installation.
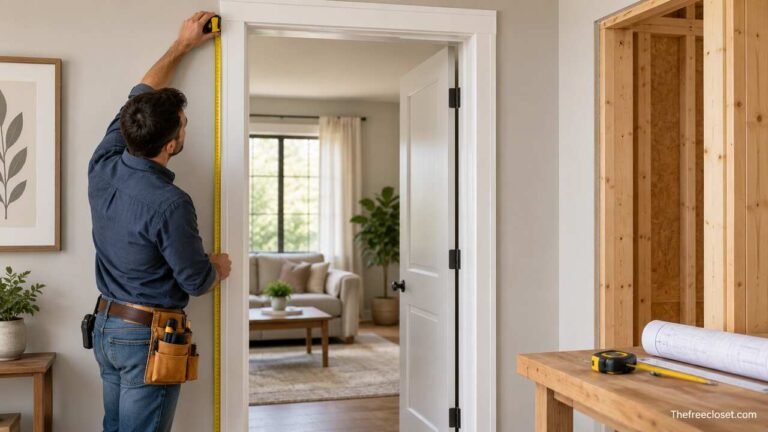
Begin by measuring the height of both sides of the door frame from the finished floor to the top reveal. Then measure the width across the top. These measurements determine the required casing lengths while allowing room for miter cuts.
Door reveals, usually around 1/8 to 3/16 inch, provide a consistent visual gap between the jamb and the trim. Maintaining equal reveals around every side creates a professional appearance.
It is also important to account for flooring thickness, baseboards, and nearby architectural features before cutting materials. Double-checking measurements prevents costly mistakes and reduces installation time.
Prepare the Door Opening Before Installation

Proper preparation creates a cleaner and longer-lasting installation.
Inspect the door jamb to confirm that it is plumb, level, and securely attached. Fill nail holes, repair damaged drywall, and remove old caulk or adhesive residue before installing new trim.
Dry-fitting each trim piece before fastening allows you to verify alignment and corner joints. Small adjustments made during this stage help eliminate visible gaps after installation.
Preparing a clean working surface also improves paint adhesion and reduces finishing work later in the project.
Install Interior Door Trim Step by Step
Successful installation depends on careful cutting, fitting, and fastening.
Install the two side casings after cutting accurate 45-degree miters. Next, fit the head casing so both corners meet tightly. Secure each piece using finish nails driven into both the jamb and wall framing where possible.
A pneumatic finish nailer speeds installation and produces cleaner results, although a hammer and finish nails remain suitable for smaller projects. Wood glue can reinforce miter joints for additional strength.
After fastening, fill nail holes with wood filler or painter’s putty, sand smooth, and inspect every joint before applying paint or stain.
Finish Interior Door Trim for a Professional Appearance
Finishing protects the trim while enhancing its appearance.
Paint-grade trim benefits from primer followed by two coats of high-quality interior trim paint. Semi-gloss and satin finishes remain popular because they resist dirt and clean easily.
For stain-grade wood, sanding progressively with finer grits creates a smoother finish. Applying wood conditioner before staining helps achieve more even color on softer species such as pine.
Clear polyurethane provides durable protection for stained wood while preserving the natural grain.
Match Interior Door Trim with Baseboards and Crown Molding
Coordinating molding profiles creates architectural harmony.
Baseboards generally appear larger than door casings, while crown molding often contains complementary decorative elements. Matching thicknesses and design language prevents one molding from overwhelming another.
Color consistency also contributes to a balanced appearance. White trim remains timeless and versatile, whereas stained wood creates warmth and highlights natural textures.
When remodeling older homes, replacing trim throughout connected rooms often produces a more cohesive result than updating isolated sections.
Select the Appropriate Trim Width
Trim width influences both proportion and visual impact.
Narrow trim between 2¼ and 2½ inches suits contemporary homes with simple detailing. Wider trim ranging from 3½ to 5 inches creates a stronger architectural statement and works well in larger rooms with higher ceilings.
Oversized trim can make standard doors appear more substantial, while narrow profiles help smaller rooms feel less crowded.
The surrounding baseboards and ceiling height should guide the final selection to maintain proper proportions.
Prevent Common Interior Door Trim Problems
Many installation issues can be avoided through careful planning.
Poor miter joints usually result from inaccurate saw settings or walls that are not perfectly square. Test cuts and slight adjustments often produce tighter joints.
Seasonal wood movement may create small gaps over time. Flexible paintable caulk accommodates minor expansion while maintaining a finished appearance.
Moisture damage can affect wood trim in humid environments. Selecting moisture-resistant materials and sealing all exposed surfaces reduces the likelihood of swelling or deterioration.
Upgrade Interior Door Trim During Home Renovation
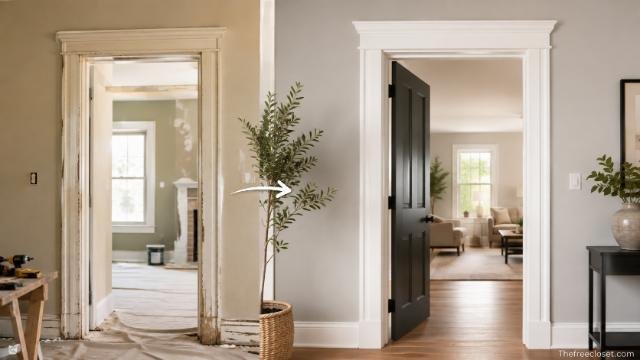
Replacing outdated trim offers one of the highest visual returns among interior finishing projects.
Modern casing profiles instantly refresh older homes without replacing existing doors. Wider trim can also improve the perceived scale of builder-grade doors and create a custom appearance.
Combining new trim with fresh paint, updated hardware, and matching baseboards transforms entire rooms while keeping renovation costs relatively manageable.
Homeowners often complete trim upgrades room by room, allowing improvements to fit within phased renovation budgets.
Compare DIY Installation and Professional Installation
Choosing between self-installation and hiring a professional depends on experience, available tools, and project complexity.
DIY installation can significantly reduce labor costs, especially for homeowners familiar with measuring, miter cutting, and finish carpentry. However, achieving tight joints and consistent reveals requires patience and precision.
Professional installers typically complete projects faster and deliver cleaner finishes, particularly in homes with uneven walls, custom trim profiles, or multiple door openings.
| Factor | DIY | Professional |
| Cost | Lower | Higher |
| Time | Longer | Faster |
| Finish Quality | Depends on skill | Consistently high |
| Required Tools | Many | Included |
| Best For | Small projects | Whole-home installations |
Maintain Interior Door Trim for Long-Term Performance
Routine maintenance keeps trim looking new for many years.
Dust trim regularly using a microfiber cloth, especially along decorative profiles where dirt tends to accumulate. Clean painted surfaces with a mild soap solution and avoid abrasive cleaners that can dull the finish.
Inspect caulk lines annually for cracks and repair them promptly to prevent moisture from reaching the wall. Touch up paint chips before exposed wood absorbs dirt or humidity.
For stained wood, occasional polishing and refinishing help preserve both color and protective coatings, extending the lifespan of the trim.
Conclusion
Interior door trim is much more than a decorative feature. It conceals construction joints, protects walls, frames doorways, and strengthens the overall architectural style of a home. Choosing the right trim profile, selecting suitable materials, taking accurate measurements, and following proper installation techniques all contribute to a polished and durable result.
Whether you prefer minimalist modern casing, timeless colonial molding, or bold Craftsman trim, investing in quality materials and careful workmanship enhances both the beauty and value of your home. With regular maintenance and thoughtful design coordination, interior door trim can remain attractive and functional for decades.
Discover the latest fashion trends, home ideas, travel tips, and lifestyle inspiration at thefreecloset.com.
FAQ’s
Most interior door trim ranges from 2¼ to 3½ inches wide, although wider profiles between 4 and 5 inches are increasingly popular in custom and luxury homes.
MDF is generally the best option for painted trim because it provides a smooth surface and resists warping. Solid wood is preferable when you want a natural stained finish or greater impact resistance.
Yes. Matching or coordinating door trim with baseboards creates a consistent architectural style throughout the home. The profiles do not have to be identical, but they should complement one another.
Yes. Finish nails and a hammer work well for smaller projects, although a finish nailer speeds installation and typically produces cleaner, more consistent results.
Semi-gloss and satin finishes are the most common choices because they provide durability, resist scuffs, and are easier to clean than flat paint.
Replacing trim around a single standard door usually takes 1 to 3 hours for an experienced DIYer, while a professional installer can often complete multiple doors in a single day, depending on the project’s complexity.