


Measuring a room involves identifying its full spatial dimensions including length, width, height, perimeter, and floor area using a combination of manual tools and digital methods. The room measurement process serves a wide range of purposes including furniture placement, flooring estimates, paint calculations, renovation planning, and accurate floor plan drafting. Errors in measurement often lead to poor fit, material waste, and budget overruns. By following best practices like measuring from the wall surface, accounting for structural details, dividing complex spaces into sections, and using reliable tools, users can ensure their dimensions are accurate. This guide explains how to measure any room effectively using both traditional tape measures and modern laser tools, as well as how to calculate areas for both standard and irregular shapes.
What Tools Do I Need to Measure a Room Accurately?
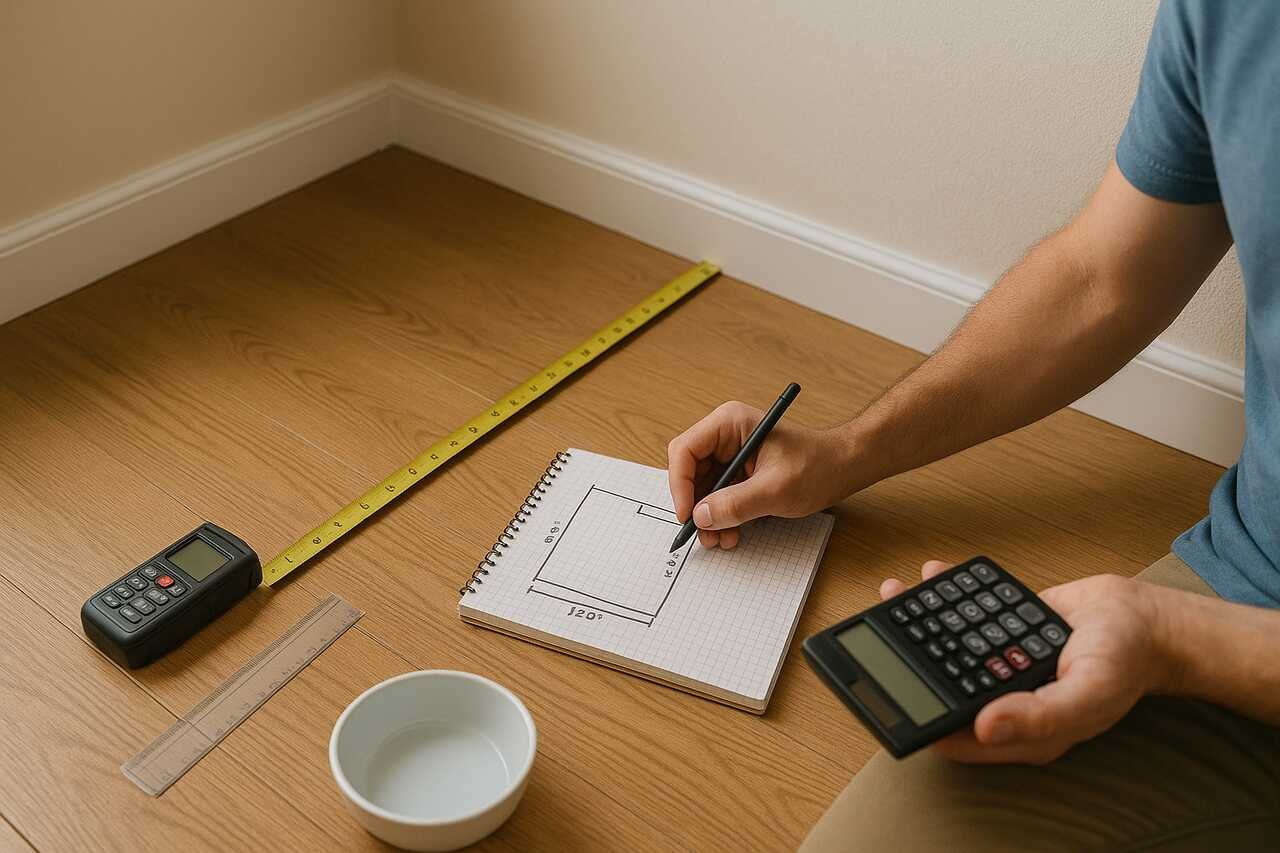
Accurate room measurement depends on using the right combination of measuring tools and recording materials, each suited to a specific need or room type.
The foundational tool for any room measurement is a tape measure, ideally one at least 25 feet long. It allows precise measurement of length, width, and ceiling height. For larger or irregular rooms, a laser distance measurer offers fast, high-precision readings over longer spans with reduced error, especially in open layouts or rooms with obstacles. A pencil, notebook, and graph paper are essential for sketching the layout and annotating measurements directly onto your drawings. Some professionals also use clipboards to stabilize sketches during walkthroughs.
To Improve Data Consistency:
● Use a spirit level when measuring vertical surfaces
● Mark starting points clearly using chalk or painter’s tape
● Employ digital apps for cloud-based measurement storage and error checking
For digital documentation, consider mobile AR apps or scanning tools, although these require calibration and are often best used alongside manual confirmation.
Why is Measuring From Walls, Not Trim or Baseboard, Important?
Measurements should always begin from the structural surface of the wall, not from decorative features like baseboards or crown molding.
Trim, molding, and baseboards can vary in thickness and do not represent the true architectural dimensions of a room. For instance, measuring from baseboard edges will result in slightly smaller dimensions than measuring from drywall or plaster. This margin of error becomes significant when planning custom cabinetry, flooring, or fitted furniture where even a 1-inch discrepancy can disrupt alignment.
When Measuring:
● Place the tape flush to the drywall or plaster
● Avoid resting on decorative features or rounded corners
● Double-check corners by measuring diagonals to verify squareness
Measuring from wall surface to wall surface ensures accurate results that align with building plans, floor installations, and material cutouts.
How Do I Calculate Square Footage for Simple and Irregularly Shaped Rooms?
To calculate square footage, multiply the length by the width of a rectangular or square room. For irregularly shaped rooms, divide the space into standard geometric shapes like rectangles, triangles, or circles, then calculate each area separately and add them together.
Standard Formula:
● Square or Rectangle: Area = Length × Width
● Triangle: Area = ½ × Base × Height
● Circle: Area = π × (Radius²)
● Trapezoid: Area = ½ × (Base1 + Base2) × Height
Before measuring, sketch the room and label each geometric section. Use a consistent unit like feet or meters and convert measurements as needed. If alcoves, bay windows, or pillars are present, treat them as standalone shapes, calculate their area, and include them in the final total.
Accurate square footage is critical for budgeting materials like flooring, paint, or insulation.
What Formulas Apply for Circles, Triangles, and Trapezoids?
Irregular rooms often include curved or angled features. These formulas help measure non-rectangular zones:
Circular Sections
● Use: For bay windows, rounded walls, or rotundas
● Formula: Area = π × Radius²
● Measurement Tip: Measure the radius from the center point to the wall edge
Triangular Sections
● Use: For angled corners or sloped ceilings
● Formula: Area = ½ × Base × Height
● Measurement Tip: Measure the height at 90° from the base
Trapezoidal Sections
● Use: For rooms that widen or narrow across length
● Formula: Area = ½ × (Base1 + Base2) × Height
● Measurement Tip: Measure both parallel wall lengths (bases) and the perpendicular distance between them
Using correct formulas for each shape ensures that your total square footage accounts for the complete room layout, including unusual or architectural elements.
When Should I Use a Laser Measure Instead of a Tape Measure?
Laser measurers are ideal when measuring large spaces, high ceilings, or rooms with obstacles that make physical tape difficult to extend accurately.
Use a Laser Measure When:
● The room has dimensions exceeding 20 feet
● Ceiling height measurement is needed
● You’re working alone and can’t anchor a tape measure
● Obstacles like furniture or appliances are in the way
● You need fast, repeatable measurements for multiple rooms
Laser tools provide accuracy down to 1/16 of an inch and are less prone to sag or error over long distances. However, they should be used in conjunction with a manual tape for tight areas or when visual obstructions might interfere with the laser path.
How Do I Draw a Dimensioned Floor Plan by Hand?
Creating a dimensioned floor plan involves sketching the room shape and recording exact wall, window, and doorway measurements directly onto the drawing.
Step-by-Step:
- Sketch Room Shape: Start with a rough top-down outline of the room on graph paper.
- Mark Walls: Label each wall with a letter or number for reference.
- Measure and Annotate: Use a tape or laser measure to get the length of each wall. Write the measurements next to the corresponding wall on your sketch.
- Add Doors/Windows: Measure and draw the position and width of doors and windows, including distance from corners.
- Include Fixtures: Mark permanent features like radiators, vents, and built-ins.
- Note Ceiling Height: Write the room height in a corner of the sketch.
Ensure measurements are written in the same unit system and use consistent labeling such as L1 or L2 for wall lengths. This plan can then be used for material calculations or shared with contractors and designers.
What Steps Should I Follow When Measuring for Flooring or Paint?
Measuring for flooring and paint involves calculating surface areas while accounting for room shape, obstructions, and application tolerances.
Flooring Measurement:
- Measure the length and width of the room
- Calculate total area: Length × Width = Square Footage
- Add 10% for waste and cuts
- If the room is irregular, break it into smaller rectangles or triangles
Paint Measurement:
- Measure the height and length of each wall
- Multiply: Height × Length = Wall Area
- Subtract windows and doors using standard measurements, such as door = 21 ft²
- Add ceiling area if painting overhead
- Use coverage guide, such as 1 gallon ≈ 350 to 400 ft²
Preparing in advance by noting obstructions and calculating correct volumes ensures efficient material purchase and reduces costly returns or shortages.
Are Measurement Apps or Ar Tools Reliable Compared to Traditional Methods?
Measurement apps using AR are improving in accuracy but still require careful calibration and manual verification.
Pros:
● Fast and accessible from smartphones
● Useful for rough estimates or quick field notes
● Some integrate with design software and floor planning tool
Cons:
● Lower accuracy, with up to 1 inch of variance
● Susceptible to poor lighting or wall irregularities
● Calibration may be required for each use
Apps like MagicPlan, RoomScan, or LiDAR-enabled tools are best for conceptual layouts and quick sketches. Always verify critical measurements with tape or laser tools.
What’s Better: Tape Measure, Laser Device, or Digital Scanning Tools?
Each tool serves a different use case based on accuracy needs, budget, and room complexity.
| Tool Type | Accuracy | Best Use Case | Cost | Limitations |
| Tape Measure | High (manual) | Small rooms, tight spaces | Low | Requires two people for large spans |
| Laser Measurer | Very High | Large rooms, quick room scanning | Moderate | Line-of-sight required |
| Digital Scanner | High (3D scan) | Complex layouts, professional plans | High | Expensive, software learning curve |
For most homeowners, combining tape and laser tools provides a balance between cost and precision. Digital scanners are best reserved for architects or advanced remodels.
How Do I Note the Locations of Outlets, Vents, and Switches During Measurement?
Recording fixture locations is essential for accurate floor plans, furniture placement, and renovation planning.
Best Practices:
● Use symbols for each feature such as a circle for outlets or square for vents
● Measure distance from two fixed points like adjacent walls to the fixture
● Annotate measurements directly on your sketc
● Note height for wall-mounted elements like light switches
Organizing this data allows contractors or designers to understand spatial constraints and avoid obstructing access or airflow during layout changes.
What Should I Measure First: Overall Dimensions or Details Like Doors and Fixtures?
Always begin by measuring overall dimensions before collecting finer details.
Measurement Order:
- Room perimeter: Establish length and width of the full space
- Wall height
- Doorways and windows
- Built-in furniture and appliances
- Fixtures such as outlets, switches, vents
Capturing the room’s bounding box ensures all secondary features are positioned correctly in relation to fixed edges. This sequencing reduces confusion, improves accuracy, and prevents repeated re-measuring.
Conclusion
The room measurement process is foundational to any home improvement, interior design, or renovation project. By combining traditional tools like tape measures with modern laser and AR devices and applying correct geometric formulas, homeowners and professionals can ensure precise, repeatable results. Sketching detailed floor plans, annotating fixture positions, and using strategic measuring sequences reduces error and improves project efficiency. Whether preparing for flooring, furniture layout, or paint coverage, mastering these techniques ensures projects start with accuracy and end with success.
Frequently Asked Questions
Multiply the room’s length by its width using the same unit of measurement such as feet × feet = square feet.
Divide the room into smaller, regular shapes such as rectangles or triangles, measure each, and add their areas together.
Use π × radius² for circles, and ½ × base × height for triangles. Always use consistent units for all sides.
Laser distance measurers provide the highest precision, especially over long distances. Tape measures are reliable for close, tight spaces.
Draw them on your room sketch and measure their width and distance from fixed corners. Add height data for windows or switches.
Yes. Height affects paint quantities, furniture fit, and heating or cooling plans. Sloped ceilings should be measured at both the low and high points.
Measure twice, label sketches clearly, avoid relying on trim, and use fixed wall edges. Double-check with both tape and laser for best accuracy.
They are useful for quick estimates but should be validated with manual or laser measurements for accuracy-critical tasks.


